← Documentation
Step 6 of 7Tenant Owner or User
Create a Schedule
A schedule defines when a resource should start and stop — for example, start at 9 AM and stop at 5 PM on weekdays. You create the schedule first, then apply it to a resource in Step 7.
1
Navigate to Schedules and create a new schedule

Expand
How to get here: Click Schedules in the top navigation bar.
You will see two tabs: My Schedules (schedules you created) and All Schedules (all schedules in your tenant). Click + New schedule at the top right to create a new one.
2
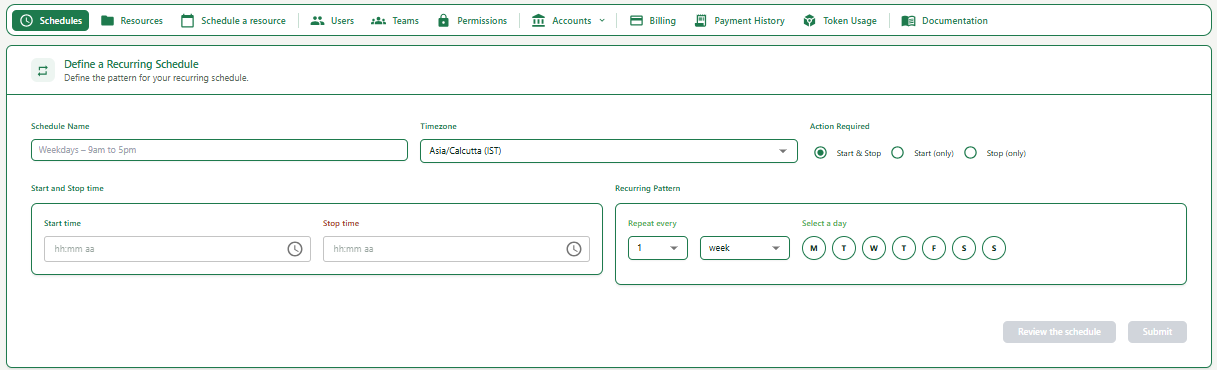
Fill in the schedule definition
Expand
Expand
| Field | What to enter | Example |
|---|---|---|
| Schedule Name | A clear name that describes when and what this schedule does. | Weekdays - 9am-5pm |
| Timezone | Select your local timezone from the dropdown. System tries to auto-detect it. | Asia/Calcutta (IST) |
| Action Required | Choose what the schedule should do: Start & Stop, Start only, or Stop only. | Start & Stop |
| Start time / Stop time | Enter the time the resource should start and stop (HH:MM AM/PM). | 09:00 AM / 05:00 PM |
| Recurring Pattern | Set how often the schedule repeats. Choose frequency and select the days. | Every 1 week, Mon to Fri |
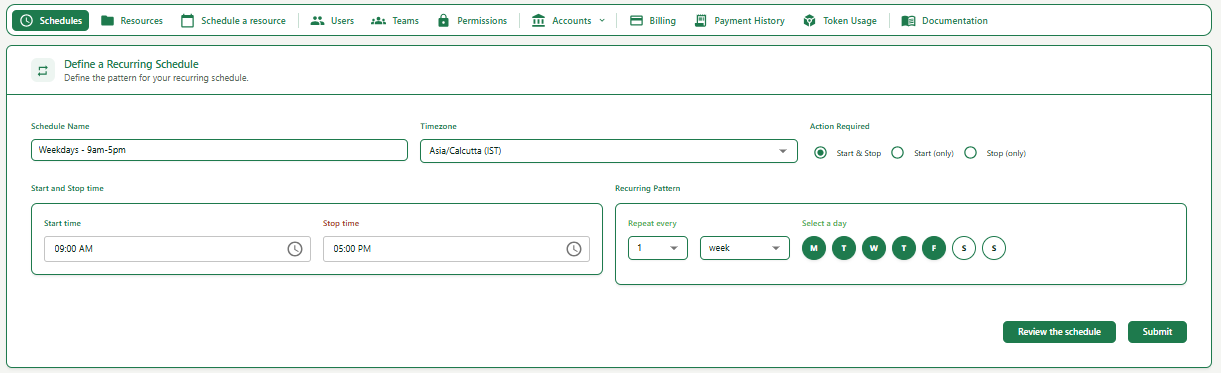
1Fill in the Schedule Name, Timezone, Action Required, Start time, Stop time, and Recurring Pattern.
2Click Review the schedule button to preview the pattern before saving.
3Click Submit to save the schedule.
3
Understand the Action Required options
| Option | When to use it |
|---|---|
| Start & Stop | Resource will automatically start at Start time and stop at Stop time. |
| Start (only) | Resource will only start at the given time. You stop it manually. |
| Stop (only) | Resource will only stop at the given time. You start it manually. |
Note
Creating a schedule does not automatically apply it to any resource. You must go to Schedule a Resource (Step 7) and link the schedule to the specific resource you want to control.